How I Planned a 4-Day Hike in Kumano Kodo, Japan
Why Kumano Kodo?
I’ve been to Japan more than 10 times. (You could say I’m committed. Or addicted. Same thing.) But the idea of multi-day hiking in Japan had never crossed my mind before. Enter: Nancy. We met while trekking the Haute Route across the Alps – she’s an extremely well-traveled hiker and also the kind of person who makes you question your life choices in the best way. She told me Kumano Kodo was the most fun and relaxing multi-day hike she’d done. Fun and relaxing? In the same sentence as hiking? I was intrigued.
So, when planning a trip for the following March – Japan’s off-season, i.e., no crowds and reasonably priced everything – Kumano Kodo felt like the perfect shoulder-season wildcard.

Kumano What Now?
Let’s break it down.
“Kodo” means ancient path.
“Kumano” is the name of a region on Japan’s Kii Peninsula.
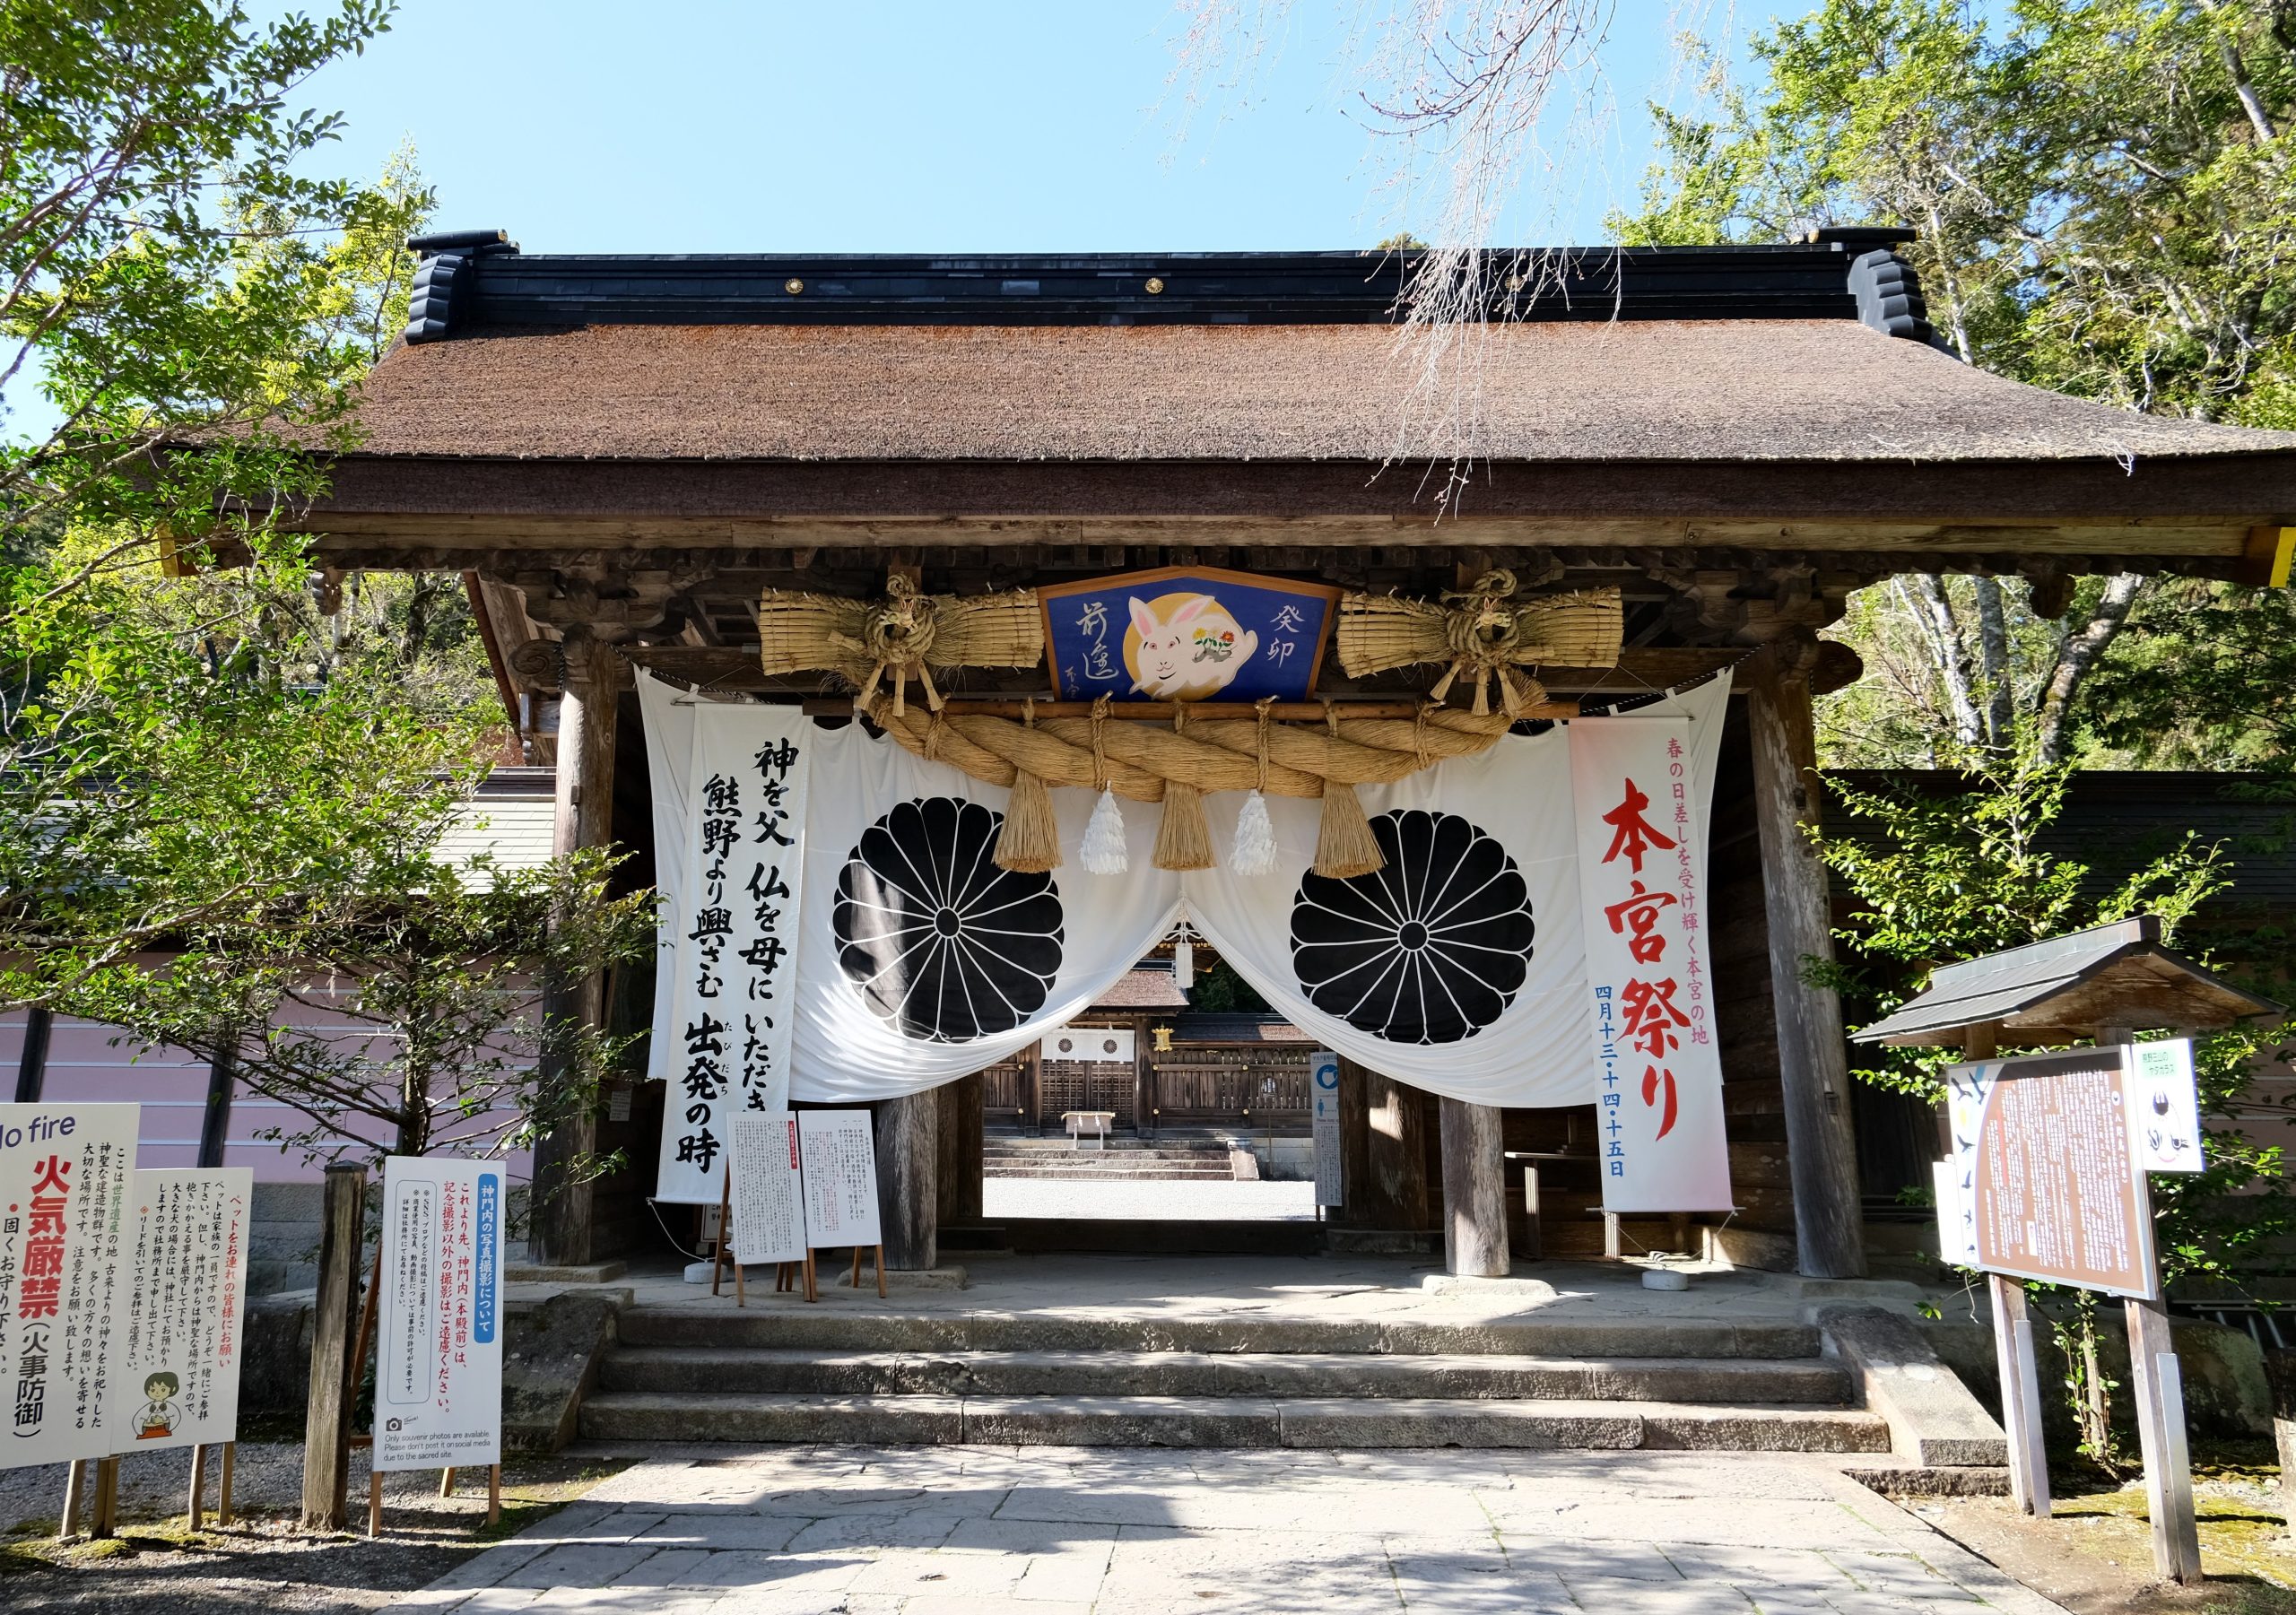
The Kumano Kodo is a network of old pilgrimage trails winding through misty mountains and dense forests. All trails (and a few that have evolved into roads) lead to the Three Grand Shrines of Kumano:
- Kumano Hongū Taisha (熊野本宮大社)
- Kumano Nachi Taisha (熊野那智大社)
- Kumano Hayatama Taisha (熊野速玉大社)
You get spiritual bonus points the more of them you hit. Probably.
DIY Itinerary (Yes, It’s Totally Doable)
Even with 10+ Japan trips under my belt and enough Japanese to ask for directions and understand the answer (most of the time), planning this hike felt a little intimidating. But spoiler: it’s 100% doable to DIY this thing.
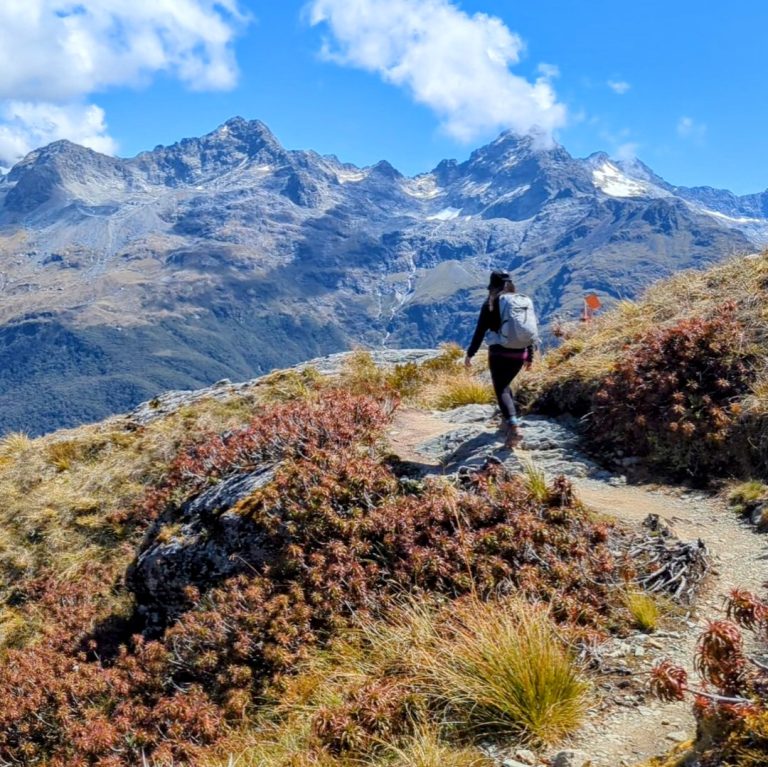
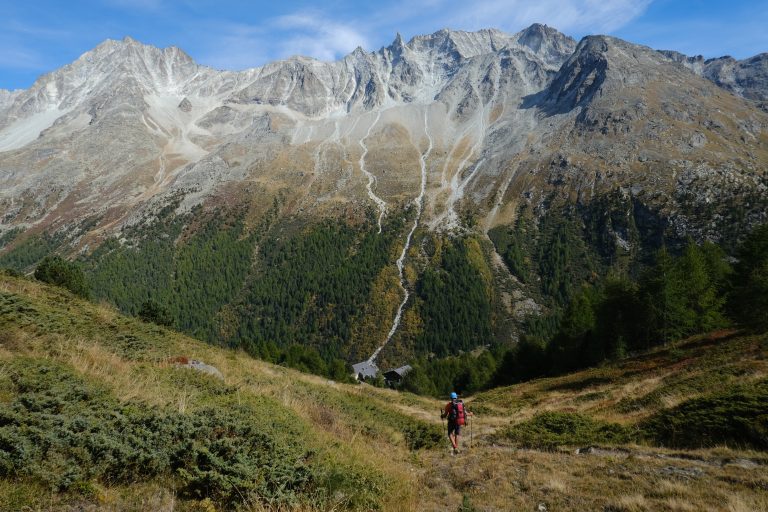
If it’s your first time hiking Kumano Kodo and you’ve got about a week, go for the Nakahechi Route (中辺路) – the OG imperial pilgrimage path since the 10th century.
Why Nakahechi?
- History – Ancient emperors walked it. So now we do too, but with Gore-Tex.
- Preservation – Unlike other trails that turned into car roads, this one stayed blissfully forest-y.
- Convenient – It’s also the most popular route, which means you’ll find trail markers, inns, and even vending machines. (Yes, in the middle of the mountains. Japan is magic.)
- Onsen towns – You literally walk into hot spring villages like Yunomine Onsen, a UNESCO World Heritage Site. Hiking + hot baths = life upgrade.

The Best Website I Found (Seriously, Bookmark This)
The Tanabe City Kumano Tourism Bureau has a goldmine of info. Model itineraries? Check. Lodging bookings with meals? Yup. Luggage transfers, guides, FAQs? Oh yes.
I almost booked the whole thing through them… but didn’t.
Why Not Just Book Through the Site?
Because I’m me, and I planned this thing about six weeks out. Which in hiking-lodging time is the equivalent of showing up to a Michelin-star restaurant at 8 PM on a Saturday and asking if they have a table for two.
Also, their pre-made itineraries didn’t quite match our schedule. So we used them as a base and customized the trip like a very nerdy Bento box. Worked out great.
And to be clear – full-hearted thanks to this website. I would absolutely use them again.
Key Learnings from Their Itineraries:
- Starting point: Takijiri-Oji. Non-negotiable.
- Stay options: Chikatsuyu, Nonaka, Hongu, Kogumotori-goe, Ogumotori-goe.
- Highlights: Shrines, viewpoints, onsens, rivers, waterfalls, and general majestic vibes.
Logistics: Lodging + Transportation
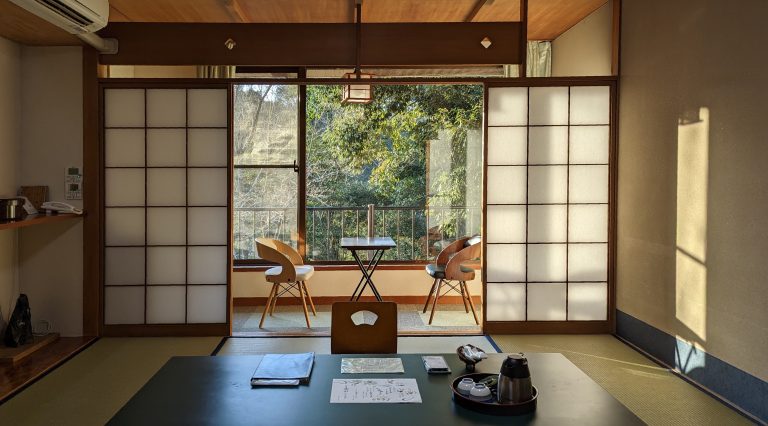
We booked everything about a month out. The lodging mix included:
- A pre-hike B&B near Kii-Tanabe
- A remote B&B in Chikatsuyu
- An onsen hotel in the Hongu area
- A lone ryokan near Nachi Taisha
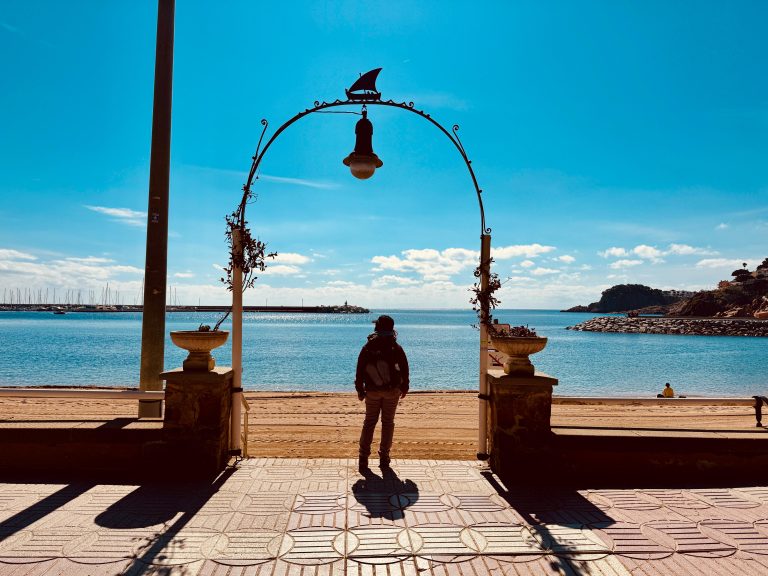
- And an oceanfront onsen hotel in Katsuura to recover (and show off our new calf muscles)
I’ll write another post reviewing these stays because they deserve their own spotlight.
Transportation?
We didn’t pre-book much. Japan’s public transport is basically magic. We used mostly public systems – JR trains, local buses, and one taxi. Flexibility was key (and also, we just didn’t want to stress over missed connections).
What Did We Forget?
Oh yeah. Meals.
Most ryokans and inns include half board by default. Except one. The one we booked in Nachi Taisha. We didn’t notice it needed to be booked separately.
Fact: we did not starve. But it got dicey.
Moral of the story: Always double-check the meal plan.
Trip at a Glance
(a.k.a. “The What We Actually Did” section)
- D0: Landed in Osaka → JR train to Kii-Tanabe → bus to hotel
- D1: Bus to Takijiri-Oji → hike to Chikatsuyu → sunset & temple stroll
- D2: Hike to Hongu Taisha → bus to our onsen hotel
- D3: Taxi to Ogumotori-goe trailhead → hike to Nachi Taisha
- D4: Chill in Nachi → bus to hotel (Katsuura)→ spontaneous trip to Hayatama Taisha (worth it!)
- D5: JR train back to Osaka, feeling very zen (and slightly sore)
Final Thoughts
Planning this trip seemed intimidating at first, but ended up being a puzzle I actually enjoyed putting together. And unlike most puzzles, this one ends in hot springs and shrine views instead of a missing corner piece.
There are a lot of ways to do this route. We met backpackers along the trail – which is absolutely a cool way to go. (I like backpacking too, and this trail is totally doable that way!)
What we did wasn’t the most budget-friendly option (though it wasn’t outrageous either), but it was the most comfortable multi-day hike I’ve ever done. Fantastic food, steaming onsen, cozy ryokan, and friendly locals – honestly, worth every yen.
If you’re not a diehard backpacking purist, maybe save your camping stove for another trail and soak in the good food and hot springs here? (Kidding! Backpacking this trail would still be awesome – and hey, you’ll still get the rivers and onsen.)
Next up: I’ll post reviews of the trail and the places we stayed!
Want more insights like this? Subscribe for quick trip guides and handy travel tips.

2 Comments